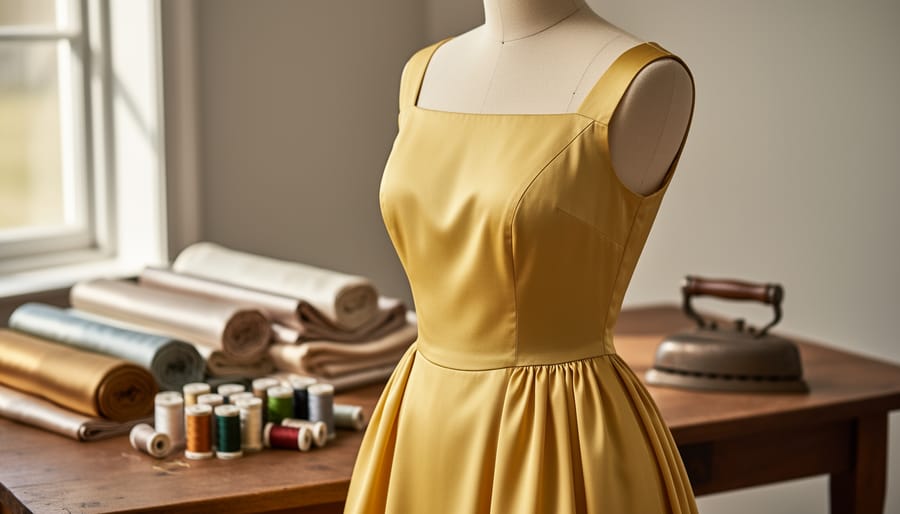
Creating a vintage butter yellow dress using Butterick 6796 takes roughly 8 to 12 hours for an intermediate sewist and delivers a timeless piece that captures mid-century elegance. This classic pattern translates beautifully in butter yellow, a soft, creamy shade that defined 1950s and 60s fashion, but the color demands careful fabric selection and gentle handling throughout construction to prevent discoloration and maintain that signature warm glow.
I discovered the magic of butter yellow entirely by accident during my early days of fabric sourcing in Canada. A bolt of silk shantung in this exact shade had been tucked away in a Vancouver warehouse for decades, and when I finally stitched it into a 1960s shift dress, I understood why our grandmothers treasured this color. It photographs like sunshine, flatters nearly every skin tone, and brings instant vintage authenticity to any pattern.
Butterick 6796 pairs perfectly with butter yellow because the pattern’s classic lines, whether you’re making the fitted bodice version or the relaxed shift style, let the color take center stage without competing details. The challenge lies not in the pattern itself but in protecting that delicate hue from iron scorch marks, fabric marker stains, and the oxidation that can turn butter yellow into a dingy cream.
This guide walks you through material selection, preparation techniques specific to pale vintage colors, and the complete construction process with particular attention to seam finishes and pressing methods that preserve your fabric’s beauty.
What You’ll Need: Fabric, Notions, and Tools
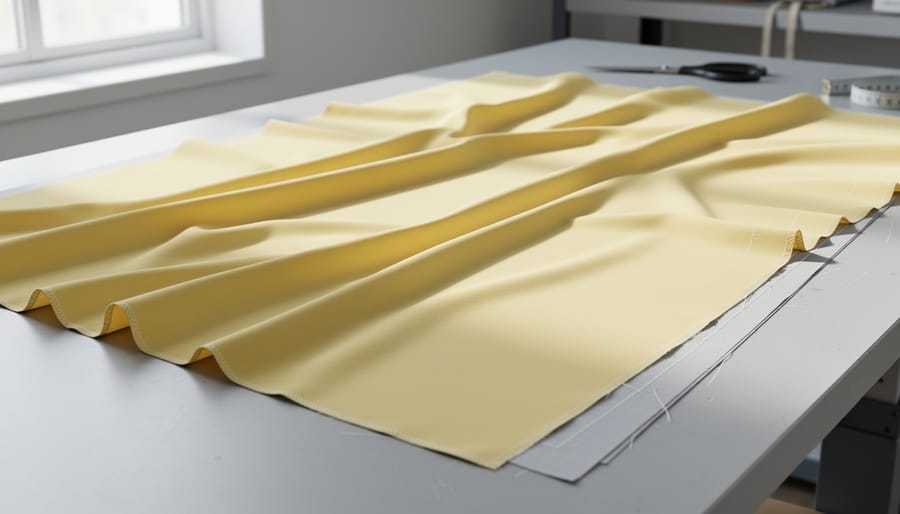
Gathering your materials before you start is half the battle won. For Butterick 6796, you’ll need specific supplies that work beautifully with butter yellow fabric while honoring the pattern’s vintage aesthetic.
The pattern envelope lists yardage requirements based on your view and size, typically ranging from 2.5 to 4 yards of 45-inch wide fabric. I learned this the hard way when I underestimated for my first vintage dress project and had to frantically search for matching fabric mid-construction. Choose a lightweight to medium-weight woven fabric that drapes well, cotton lawn, rayon challis, silk crepe de chine, or a cotton-linen blend all capture that soft, buttery glow while maintaining enough body for the dress’s structure. The fiber content matters enormously for butter yellow because synthetic blends can look brassy under certain lighting, while natural fibers give that warm, vintage honey tone.
For Canadian sewists, Maiwa in Vancouver carries stunning hand-dyed fabrics in butter yellow tones, while Fabricland locations across the country stock affordable cotton options. The Workroom in Toronto often has beautiful rayon challis that photographs perfectly in that soft yellow hue.
Here’s what you’ll need assembled before cutting:
- Main fabric according to pattern yardage requirements (2.5-4 yards depending on view and size)
- Matching thread in butter yellow or one shade darker
- Lightweight fusible interfacing for facings and closures (typically 0.5 yards)
- Invisible or regular zipper in 7-inch, 9-inch, or 22-inch length (view-dependent)
- Buttons or snaps if required by your chosen view
- Fabric shears reserved exclusively for cutting fabric
- Glass-head pins or fine silk pins that won’t snag delicate fabric
- Fabric marking tools, tailor’s chalk or disappearing ink pen tested on scraps first
- Sewing machine in good working order with a fresh universal needle (size 70/10 or 80/12)
- Iron and pressing cloth to protect the butter yellow from scorching
- Seam ripper because we all make mistakes
- Measuring tape and clear ruler for accurate marking
Buy an extra half-yard of fabric beyond the pattern requirements. This gives you room for testing stitches, practicing buttonholes, and making a muslin if you’re between sizes. Butter yellow shows every construction choice, so those test runs aren’t optional, they’re your insurance policy for a dress you’ll actually wear.
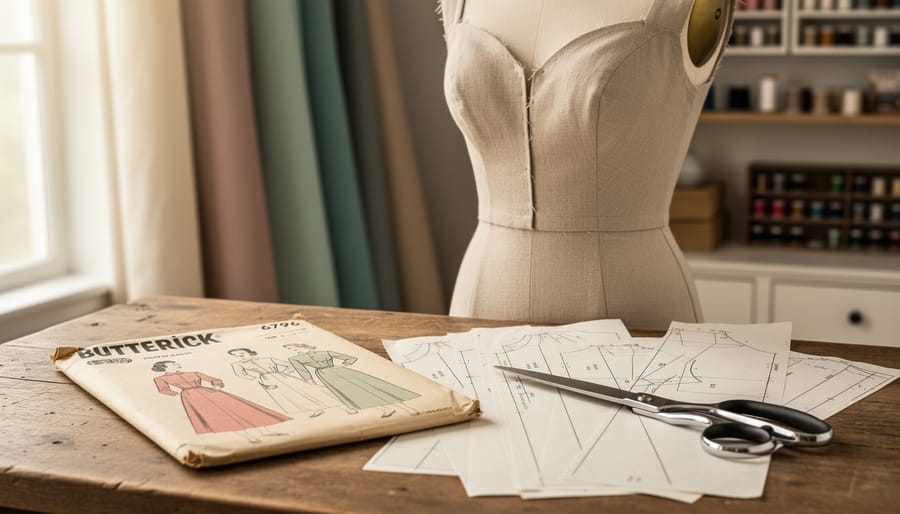
Understanding Butterick 6796: Pattern Details and View Selection
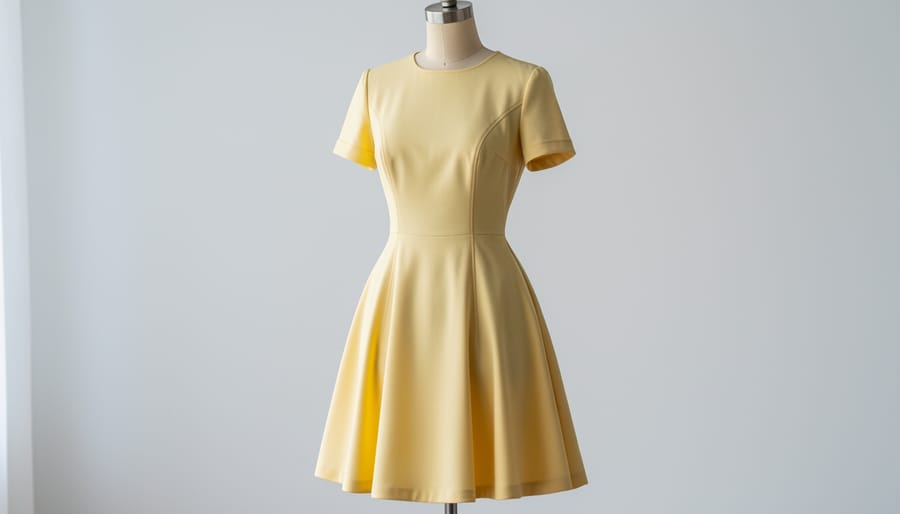
Butterick 6796 captures the essence of 1950s and 1960s vintage dressmaking with its fitted bodice, defined waistline, and flattering skirt options. The pattern offers multiple views, typically including variations in sleeve length, neckline treatment, and skirt fullness. For a butter yellow dress, Views A and C tend to work especially well because their cleaner lines let the warm, sunny color take center stage without competing details.
The pattern’s construction features princess seams or darts that create a shaped bodice, which is quintessentially vintage and incredibly flattering. These style lines create vertical interest that complements butter yellow beautifully, the seaming adds depth and dimension to what could otherwise read as a flat expanse of pale color. The gathered or gently flared skirt options give movement and femininity, perfect for showcasing how butter yellow catches light as you walk.
Sizing requires careful attention with Butterick patterns, especially vintage-inspired designs. Measure your bust, waist, and hips accurately and compare them to the pattern’s sizing chart, not your usual ready-to-wear size. Many sewists find they need to grade between sizes or make a muslin first. The pattern envelope provides finished garment measurements, which help you choose the right amount of ease.
If you’re new to this pattern, our complete Butterick 6796 tutorial walks through every construction step. The pattern’s vintage silhouette works across different body types because the structured bodice and defined waist create shape regardless of your starting point. Butter yellow’s warm undertones add to this flattering effect, making the dress feel special without being costume-y.
Before You Start: Safety and Fabric Preparation
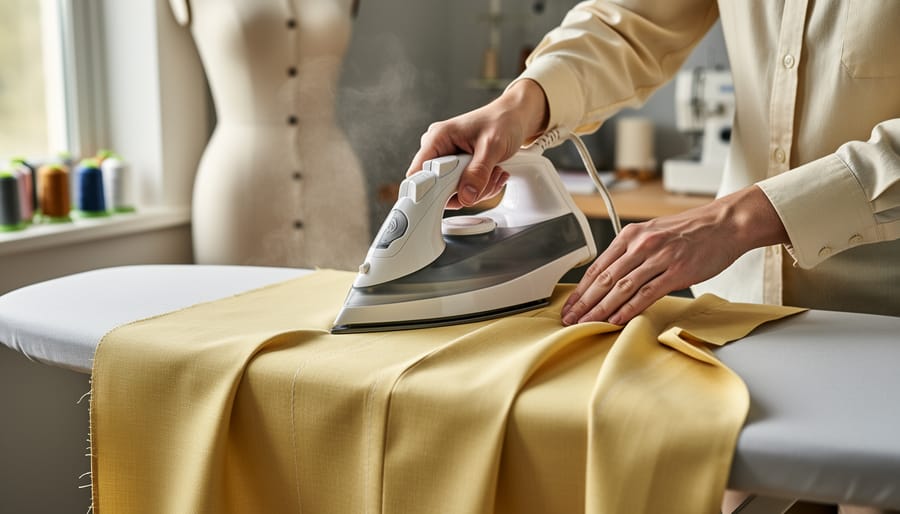
Before you cut into that beautiful butter yellow fabric, take a few minutes to prepare it properly, it’ll save you heartbreak later. Butter yellow is notoriously heat-sensitive, and many delicate fabrics in this shade can scorch, turn brownish, or develop shiny spots if your iron’s too hot.
Start by prewashing your fabric according to the fiber content. If you’re working with cotton or a cotton blend, a gentle machine wash in cool water works beautifully. For silk, rayon, or other delicates, hand-wash or use the delicate cycle and skip the dryer. This step preshrinks the fabric and reveals any colorfastness issues before you’ve invested hours of sewing time.
Speaking of colorfastness, fill a white bowl with cool water and submerge a small swatch of your fabric for ten minutes. If the water turns yellow or the fabric bleeds onto a white paper towel, you’ll need to set the dye with a vinegar rinse or consider lining the dress to protect your skin and other garments.
When pressing, use a pressing cloth between your iron and the fabric, keep the iron moving, and opt for steam over direct dry heat. Test your seam finishes on scraps too, some fabrics pucker or darken when zigzagged or serged, so you’ll want to know what works before committing to your dress seams.
Step-by-Step: Sewing Your Butter Yellow Dress
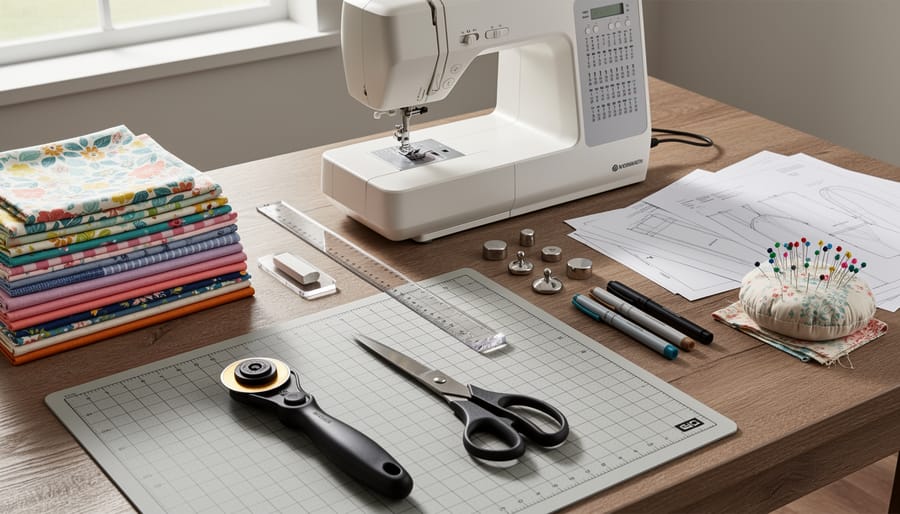
Preparing and Cutting Your Pattern Pieces
Start by pressing your butter yellow fabric gently, any wrinkles will throw off your pattern layout and waste precious yardage. Fold the fabric right sides together as the pattern guide sheet directs, smoothing it flat on your cutting surface. Before pinning anything, lay out all your pattern pieces to plan the most efficient arrangement. With butter yellow, you want to cut all pieces in the same direction along the grain to prevent subtle color variations caused by light hitting the nap differently.
Check each pattern piece’s grainline arrow against the fabric’s lengthwise grain, using a ruler to measure from selvage to arrow at both ends, they should be equal. Pin the grainline first, then smooth and pin the rest of the piece, placing pins within the seam allowance so you won’t leave marks on your fabric. For Butterick 6796, pay special attention to any pieces cut on the fold and directional pattern markings.
Use sharp fabric shears and cut with long, confident strokes rather than short snips. Dull scissors can snag delicate butter yellow fabric and create frayed edges. These pattern-to-finish tips apply to every vintage pattern project, but butter yellow fabric demands extra care during cutting since mistakes really show on this eye-catching color.
Marking and Transferring Pattern Details
Once you’ve cut your pattern pieces, you need to transfer all those crucial markings, darts, notches, grainlines, and construction points, without leaving permanent traces on your butter yellow fabric. This color shows everything, so choose your tools carefully.
Tailor’s tacks are your safest bet for butter yellow. Thread a needle with contrasting thread (I like pale gray or white), take a loose stitch through both fabric layers at each marking point, then snip the threads to leave tufts. Pull the layers apart gently and clip between them. Yes, it’s slower than other methods, but you’ll thank yourself when there are no mystery marks peeking through later.
For quick notch marking, make tiny snips no more than 3mm into the seam allowance rather than cutting full triangular notches. On construction lines like dart legs, use chalk that brushes away completely, test it on a scrap first. Those disappearing ink pens? Avoid them. Heat and time can make “invisible” marks reappear as brown stains on light fabrics, and butter yellow is unforgiving.
For centre lines and grainlines that won’t show in the finished garment, thread tracing with silk thread works beautifully and removes cleanly when you’re done.
Constructing the Bodice
Start with the darts, they’re the foundation of the bodice’s vintage fit. Pin each dart carefully, matching the marked lines, then stitch from the wide end to the point. Here’s the crucial part: don’t backstitch at the dart point. Instead, leave long thread tails and tie them off by hand. This prevents little bumps that show through butter yellow fabric, which is unforgiving with texture.
Press each dart immediately after sewing, while the fabric still has body. Use a tailor’s ham if you have one. For butter yellow, set your iron to a medium-low heat, silk or synthetic setting works for most fabrics in this color. Always press from the wrong side first, using a pressing cloth between the iron and fabric. Dark scorch marks won’t happen at lower temperatures, and you’ll preserve that sunny hue. Press darts toward the center front or down toward the waist, depending on their placement in your chosen view.
Next, join the bodice seams. Butterick 6796 typically has side seams and possibly princess seams or shoulder seams, depending on your view. Pin right sides together, matching notches exactly. Stitch at the specified seam allowance, usually 5/8 inch for vintage patterns. Press seams open unless the pattern specifically calls for pressing them to one side, again using your pressing cloth and moderate heat.
If your view includes collar, facing, or other neckline details, stay-stitch the neckline immediately after cutting to prevent stretching during construction.
Assembling the Skirt
Start by sewing the skirt seams according to your chosen view. Pin the skirt pieces right sides together, matching notches carefully. Stitch each seam at the specified seam allowance (typically 5/8″), then finish the raw edges with your preferred method. Press seams open or to one side as the pattern directs, using a press cloth to protect your butter yellow fabric from direct heat.
If your view includes gathering, machine-baste two rows of long stitches within the seam allowance along the skirt’s upper edge. Pull the bobbin threads gently from both ends, distributing the gathers evenly until the skirt matches the bodice width. Pin the gathered edge to the bodice, adjusting fullness so gathers lay smoothly without bunching.
For pleated versions, mark and press each pleat carefully with a cool iron and press cloth. Pin pleats securely before basting to prevent shifting.
Pin the prepared skirt to the bodice with right sides together, matching side seams and center markings. The notches must align perfectly here, this ensures your dress hangs straight. Stitch the waistline seam, then press it toward the bodice. This seam bears weight, so consider reinforcing it with a second row of stitching just inside the seam allowance for durability.
Installing the Zipper and Finishing Details
With your bodice and skirt united, it’s time to tackle the zipper, often the most nerve-wracking step, but genuinely manageable with butter yellow fabric since you can see your stitching lines clearly.
For Butterick 6796, you’ll typically install a centered or lapped zipper in the center back seam. Baste the seam closed first where the zipper will sit, then press it open. Pin your zipper face-down along the seam allowance, keeping the tape edges aligned with the seamline. Using your zipper foot, stitch down one side, across the bottom, and up the other side in one continuous pass. Work slowly, rushing causes wobbles that show on light-colored fabric. Remove the basting stitches and test the zipper several times before moving on.
The neckline finish depends on your chosen view. Most versions use a facing, which you’ve already interfaced. Pin the facing to the neckline with right sides together, stitch, then grade and clip the seam allowance to reduce bulk. Under-stitch the facing by stitching it to the seam allowances close to the seamline, this keeps it from rolling to the outside. Press carefully with a press cloth to protect your butter yellow from shine.
For armholes, Butterick 6796 might use facings or bias binding. Facings follow the same process as the neckline. If you’re using bias binding, cut strips on the true bias, press them in half lengthwise, and bind the raw edge by stitching through all layers. Hand-tack the facing or binding at shoulder and side seams so they stay put during wear.
Checking Your Work: Fit, Finish, and Final Touches
Before you fold up your butter yellow Butterick 6796 and call it done, spend twenty minutes methodically checking your work. A vintage dress deserves careful inspection, and catching small issues now saves disappointment later when you wear it out.
Start with fit. Try the dress on right-side-out, ideally with the undergarments and shoes you’ll wear with it. Stand naturally and move through a range of motion: lift your arms overhead, sit down, walk a few steps, twist at the waist. The bodice should sit smoothly without gaping at the neckline or pulling across the bust. If you notice tightness or drag lines, mark those spots with a pin from the outside so you remember where adjustments are needed. Many vintage patterns run slightly generous through the shoulders and torso, so a bit of ease is normal, but you shouldn’t see excess fabric bunching at the side seams or armholes.
Once you’ve confirmed fit, work through these verification points:
- Inspect all seam allowances: check they’re consistent width, fully enclosed or finished, and lie flat without puckering
- Examine the zipper: it should open and close smoothly, with teeth covered by the placket and no fabric catching
- Check hem evenness: measure from floor to hem edge at multiple points while wearing the dress
- Press the entire garment with a pressing cloth: butter yellow shows every wrinkle and benefits from thorough final pressing
- Look for loose threads, unfinished raw edges, or skipped stitches that need securing
- Confirm all darts point toward the fullest part of the body and taper smoothly without dimpling
A successfully completed butter yellow dress has crisp, even seams that blend into the fabric, a smooth silhouette without pulling or gaping, and polished vintage details that look intentional rather than homemade. The butter yellow should be vibrant and consistent across all pieces, with no scorching or discoloration from pressing. For additional fit and finishing guidance specific to vintage patterns, refer to detailed construction resources. When you slip the dress on and everything sits exactly where it should, you’ll know your attention to these final checks paid off.
Styling Your Vintage Butter Yellow Dress and Next Projects
Your butter yellow dress looks stunning with vintage-inspired accessories. Pair it with a wide-brimmed straw hat, brown leather belt, and Mary Jane heels for a classic 1950s look. A cropped cardigan in cream or soft brown complements butter yellow beautifully without competing with the color. For jewelry, stick to warm metals like gold or brass, and consider vintage brooches pinned at the neckline.
To keep your butter yellow fabric vibrant, hang the dress away from direct sunlight between wears. Store it in a breathable garment bag, never plastic. Wash in cool water with color-safe detergent, and always press on the wrong side with a pressing cloth. Hot water and harsh detergents will gradually fade that perfect butter tone.
Ready to expand your vintage sewing skills? Consider a next sewing project that builds on what you’ve learned. Butterick 5209 offers a flattering shirtwaist dress with similar construction techniques but different style lines. If you loved working with Butterick 6796, try their 4790 pattern for a swing coat that pairs perfectly with your new dress. These vintage patterns teach new skills while reinforcing the fundamentals you’ve just mastered, helping you build a cohesive handmade vintage wardrobe.
Common Questions About Sewing Butter Yellow Vintage Dresses
I get a lot of questions from sewists tackling their first butter yellow vintage dress, and honestly, most concerns are entirely fixable with a bit of forethought. Here are the issues that come up most often in my inbox and sewing circles.
Will butter yellow fabric show every mistake?
Light yellows can highlight uneven stitching or puckered seams, but proper pressing as you sew and using a matching thread color minimizes visibility. Test your tension on scraps first.
Can I shorten or lengthen Butterick 6796 easily?
Yes, the pattern includes lengthen/shorten lines on both bodice and skirt pieces. Make adjustments before cutting, and remember to alter all corresponding pieces equally to maintain the vintage silhouette.
What if my butter yellow fabric is slightly see-through?
Add an underlining or slip in a coordinating shade. I often use a soft ivory or pale yellow lining fabric, which preserves the vintage aesthetic while solving transparency issues.
How do I prevent the fabric from stretching out of shape during construction?
Stay-stitch curved edges like necklines and armholes immediately after cutting, and handle bias-cut pieces minimally. Let the dress hang overnight before hemming to allow any stretch to settle.
One concern that surprises newer sewists is color matching when you need more fabric mid-project. Butter yellow can vary dramatically between dye lots, even from the same manufacturer. I learned this the hard way on my second vintage dress and now buy an extra half-yard as insurance, especially when sourcing from smaller Canadian fabric shops where restocks might differ. If you do run short and can’t match perfectly, consider using the slightly different shade for facings or hidden details rather than a visible panel.
The other question I hear constantly is about adapting the pattern for a fuller bust. Butterick 6796 fits true to vintage sizing, which often means less ease in the bust than modern patterns. A full bust adjustment is absolutely doable, but trace your pattern first so you have the original to return to if needed.
Congratulations! You’ve just completed a stunning vintage butter yellow dress that’s uniquely yours. There’s something magical about finishing a garment from scratch, especially one that captures the timeless elegance of vintage fashion while reflecting your personal style and commitment to sustainable sewing.
I’d love to see how your Butterick 6796 turned out. Share photos of your finished dress on social media using #VintageButterYellow or tag me directly. Seeing your interpretations inspires other sewists and builds our community of makers who value quality over fast fashion.
This project marks just the beginning of your vintage sewing journey. You’ve developed skills that transfer beautifully to other patterns: precise construction, fabric handling, and attention to finishing details. Each garment you make strengthens your connection to slow fashion principles.
For more vintage pattern inspiration, explore your local sewing guilds, Canadian fabric shops that stock reproduction patterns, and online communities dedicated to vintage sewing. These resources connect you with fellow enthusiasts who share tips, troubleshoot challenges, and celebrate the art of creating clothing that lasts.
Now go wear that gorgeous butter yellow dress with pride.